Studio Build
When the pandemic hit back in 2020, the diaries of musicians all over the world, including mine emptied in a matter of days. It left me with some interesting decisions to make to say the least. After some thought and plenty of conversation, my wife and I decided to free up some funds to start building a studio at the end of our garden.
To have my own studio where I could play, record and teach drums was honestly not even on my radar growing up. I’m so unbelievably thankful that I’ve been able to do this. A few friends and fellow drummers have asked about the process so I thought it would be good to put a blog together. I’m aware that there may be people who read this that have much more building experience than me but hopefully I didn’t make too many blunders! haha!
I’d never done anything like this before and as I said, we only decided to pull the trigger at the start of the pandemic so I knew I’d be doing a fair amount of learning on the job. Hope you enjoy getting an insight to my life as a builder/project manager this passed 2 years!
Clearing
When we moved in there was a single garage and car port situated at the back of the garden. Before any building could commence, I had to clear the entire site. This included knocking down the garage plus getting rid of all the waste we had generated during renovations/garden work.
DIGGER
Didn’t want to give it back as you can see!! It was honestly so much fun! Started out with the massive pneumatic drill attachment to smash up all the concrete then onto the buckets for the digging. Everyone had a go and all the neighbours kids loved it.
Plans
An insane amount of waste, soil, concrete, you name it was shifted in those early weeks all in preparation to pour a new slab. You’re probably wondering if I had plans that I was working to so I knew what dimensions to dig to. As I knew nothing about how to draw up blueprints for a build, I went on the hunt for someone who had experience in both construction and studio design. To cut a long story short, I thought I’d found the perfect guy and to a point, everything was great. HOWEVER during the calculations process he made a huge error which resulted in me having to instal steel beams to hold the roof up. You can probably work out what had happened.
All that to say…to anyone who is looking to do something similar, take the time to really suss out who you are dealing with. Building a studio from scratch is no mean feat and there are so many factors to take into consideration that you wouldn’t have to if you were just building a garage. Although this was obviously very frustrating and delayed the build massively, there were definitely some positives that came out of it. Putting steal beams gave me absolute peace of mind that I could add all the soundproof layers to the ceiling without any worry of it sagging. And there’s also the learning experience that came with it. It’s been a blast and worth every head ache/back ache ha!. To their credit they have paid back in full for all the work to undo they’re mistake which I massively respect and appreciate.
Ground Works
Six grab trucks and a whole load of levelling, digging up roots and clearing later, the site was ready for the new slab!
You’ll notice that the slab is quite below ground level. The neighbours (and possible wifey) kept saying “let’s just fill it with water and have a swimming pool”. I did this to stay within permitted development whilst achieving a higher ceiling (better for recording drums). In hindsight I may have saved money and time just applying for planning to build higher BUT it meant I had the digger for a few more days so what the heck!
Concrete Blocks
So in the planning stage I decided to go with the heaviest concrete blocks you can buy. This was down to their sound proofing qualities. All you studio geeks will know that the only hope I had of stopping the sound of a drum kit is to make the walls as heavy as that slab could bare. Here’s my dad after we’d finished the haul from the front of the house.
External Walls
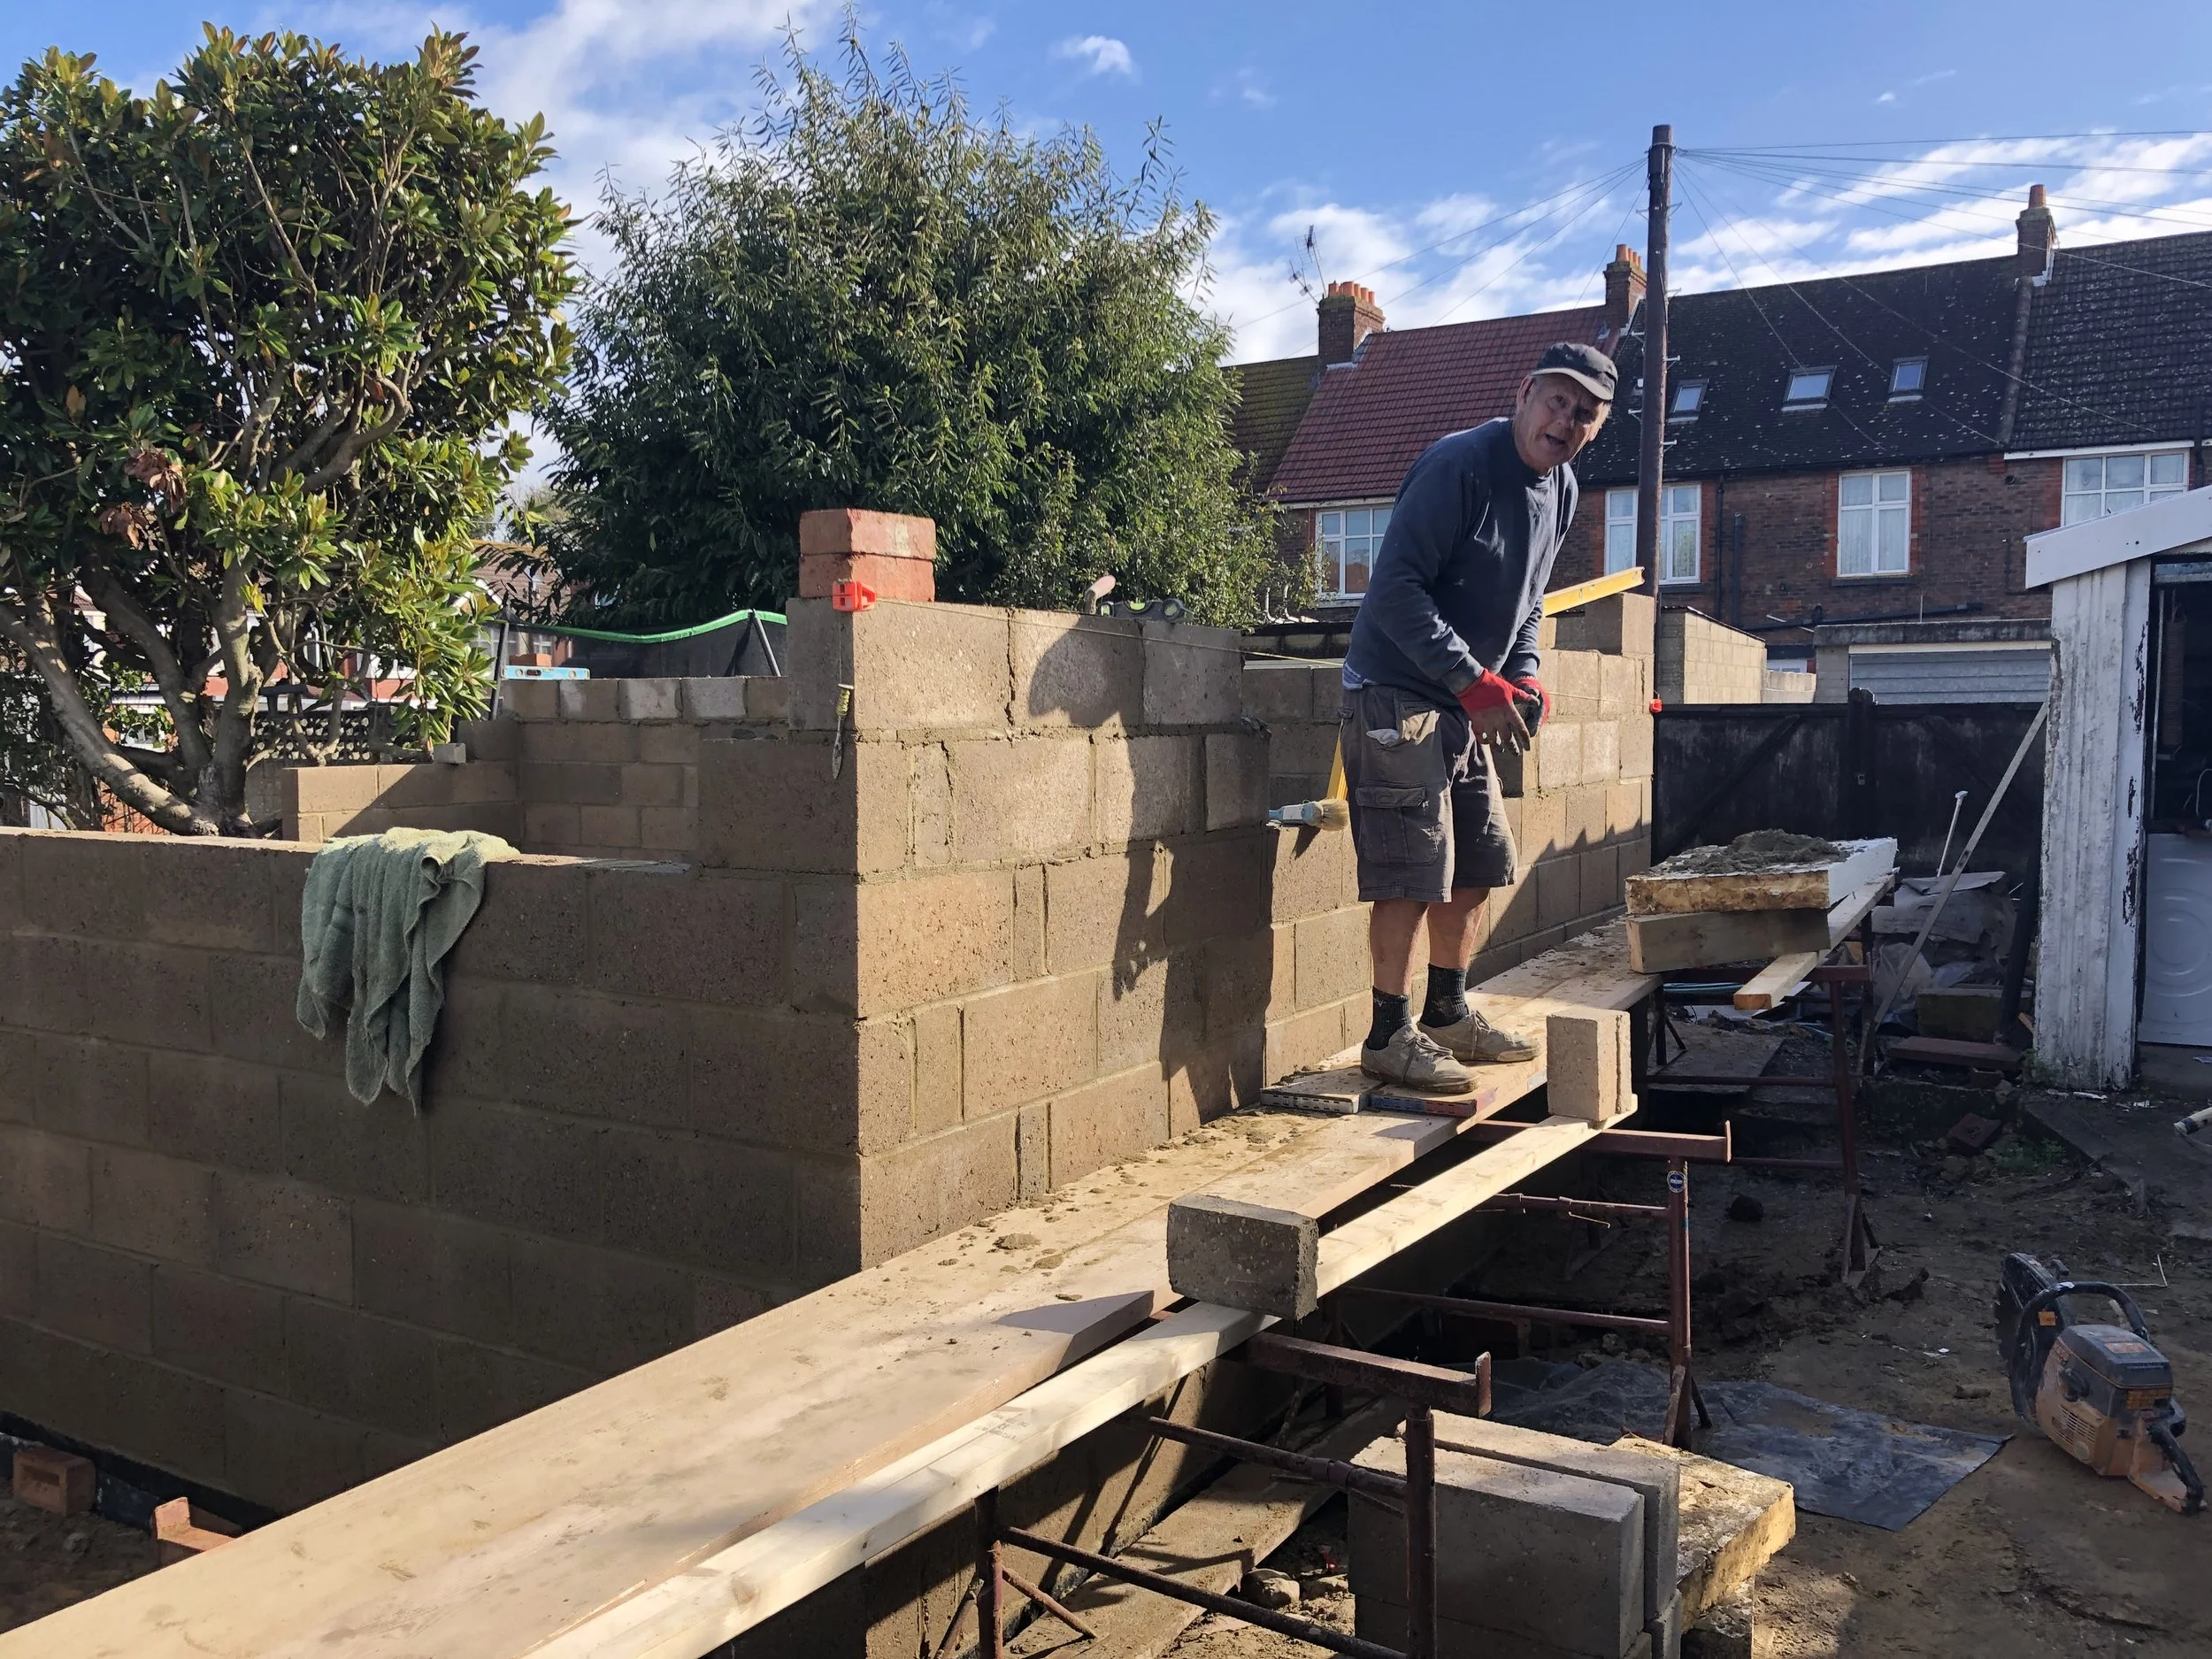
I pulled in experts throughout the project and the first on the scene was my friend Chris. He’s 70 years old and an absolute machine! He helped me with the block work for the exterior shell. The blocks were so heavy we almost needed two of us at points to get the things in place. He also built the extension on our home and did an amazing job, so I knew I was in good hands.
Store Room
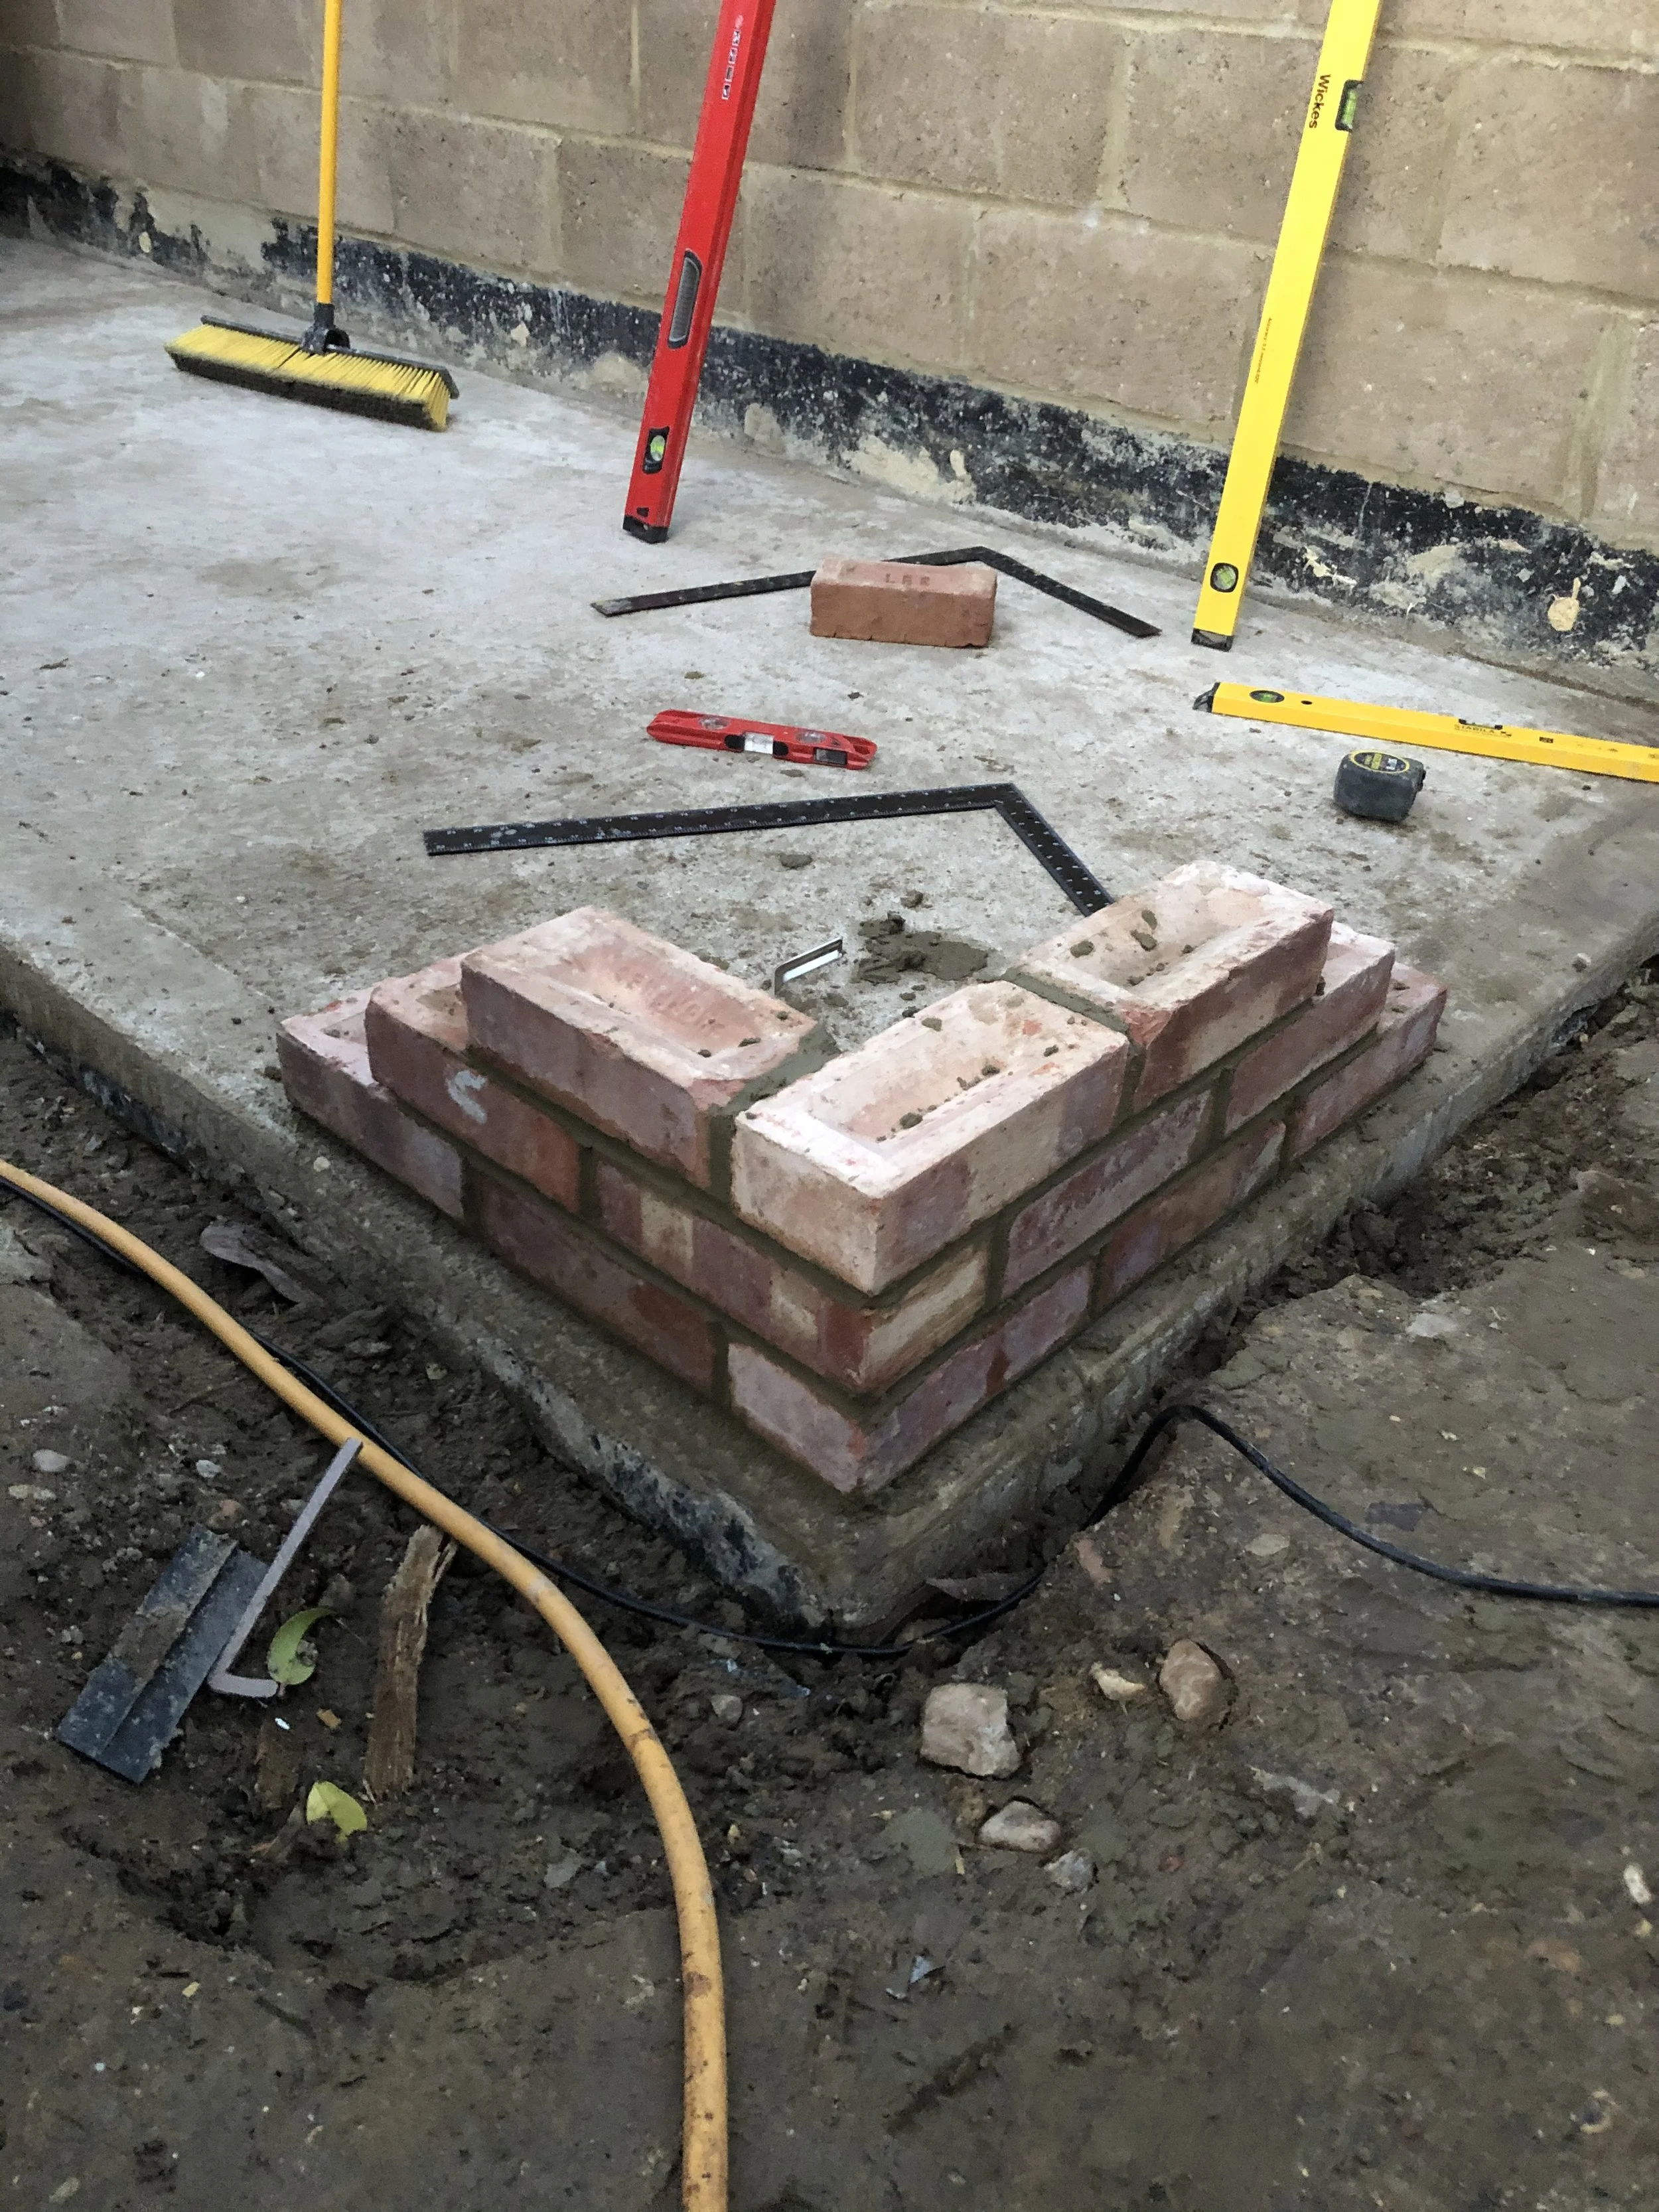
During the design process I decided to add a lean to style store room onto the side of the building. This would obviously be very useful in terms of storage but I also had in mind that it would act as an extra sound proofing measure for the doors. I’ve found it incredible how much this has aided isolation. I’m pretty proud of this additional space as it was part of the build that I literally did entirely alone, including the brick work base. First time laying bricks so not perfect by any stretch but I had fun!
Roof
The roof design ended up being the biggest brain ache to be honest. I would say it’s the one area of the build where I wish I had a proper architect involved rather than someone who claims to know what they’re on about. It is essentially a standard cold roof design, but in the planning stages I decided to hang the joists inside the walls for sound proofing purposes. I checked this with the design consultant I referred to earlier and also had a roofer involved. Designer said it would be fine, roofer didn’t mention anything, HOWEVER it quickly dawned on me during construction that this was a mistake. A cold roof only works if you can ventilate it all the way across the top between the joists otherwise you will get moisture build up and eventually horrendous black mound will run riot. This is why you normally sit a cold roof on top of the walls and Instal vents under the soffits. As we were now deep into installation this wasn’t an option so I ended up having some mushroom vents installed once construction was complete. So all was not lost and hopefully the vents will keep any mould from developing. Just a bit stressful haha!
Room within a Room
The room within a room method is by far the most common for sound proofing a room. The premise is simple…build timber frame structure inside of your external walls. The bigger the air gap and the more layers of material you add, the better the isolation will be. At this point it felt sooooo good to finally be working inside a weatherproof shell and I was very excited knowing that from this point on it would start coming together much quicker.
Sub Floor
Even though the floor would be underground I still wanted to make sure I was doing as much as I could to prevent sound travelling out through the slab. I’ve had experience in rooms where so much sound (especially bass frequencies) escapes out through the floor. I used an acoustic underscored matting which would serve to decouple the screed from the slab and absorb some of the impact of the kick drum. The screed product I went for was a pretty standard liquid screed that was pumped in once the vapour barrier was down. You’ll also notice there is foam decoupling the floor from the walls.
Mission Steel
It was at this stage of the build that the issue with the roof became apparent and a few weeks later it was time to instal the steel beams. As you can imagine it was an absolute mission and took a lot of strength, to me, to you and perseverance to get them in. But after some back breaking work they were finally in and it was time to finish off insulation and layering materials onto the joists and stud frame. I basically had two options…Either take the whole roof down and put in more joists to take the weight of everything (NOPE) or put some steel in. Like I said earlier in the blog, even though it was a massive inconvenience to have to instal them and it delayed the build quite a bit, it was actually well worth doing to take away any worry of the ceiling sagging due to the sheer weight of what was being added to it. Once they were in and the joists had been run into the steel it actually looked great.
Layers
Thank God for plasterboard lifters!! Without this thing I reckon we’d have some serious back problems. At first I was super excited to have reached this stage but then slowly but surely it dawned on me the sheer amount of material that had to go up. But every sheet was a sheet closer to the dream. An important thing to remember here is that you’re only ever as good as your windows and doors with sound proofing. You can make the walls as thick as you like but if your windows and doors aren’t done properly and sealed up good, it will all be for nothing. Every layer has to be completely sealed.
I should also mention that I had all the electrics done by a professional as this is definitely something you want to get properly signed off. The last thing you want in a studio is top start having issues with stuff tripping.
Plastering/Painting
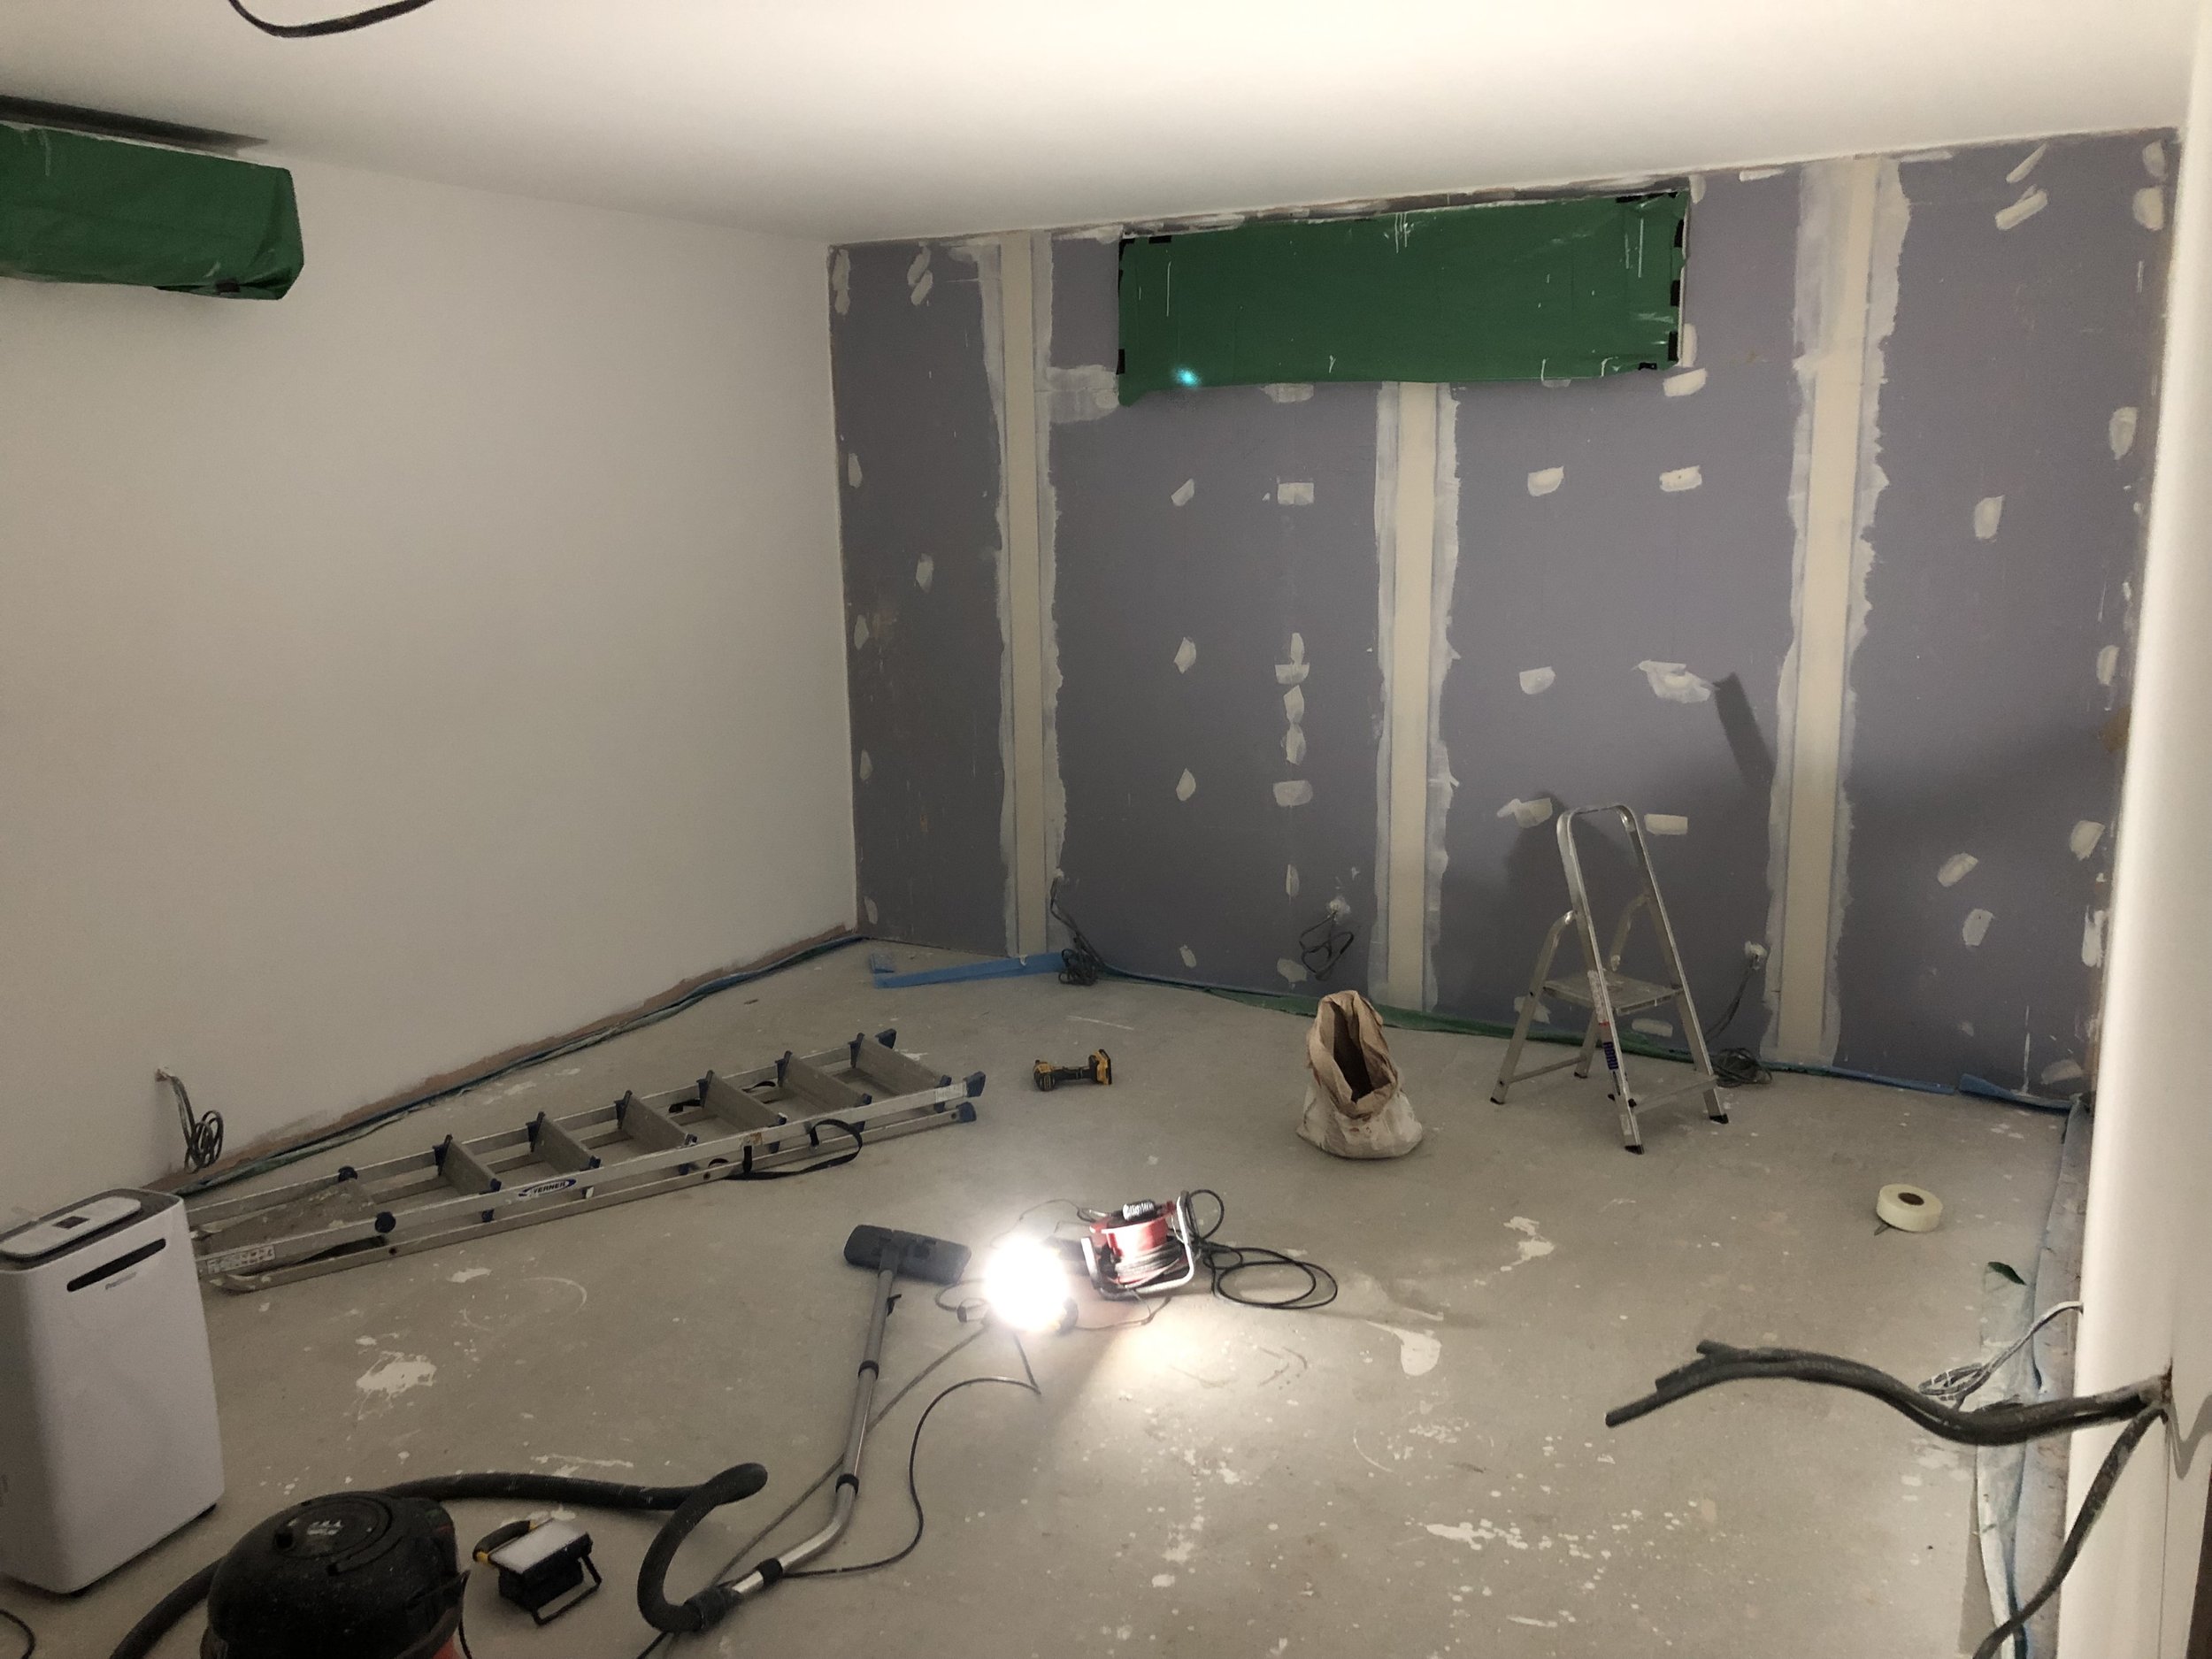
I had 3 of the walls plastered apart from the back one as I knew I was going to cover it. It was really getting to the stage now where I cold see the end and just wanted it finished so I spent some very late nights painting and doing other small jobs. Before long the walls and ceiling were painted and it was time to start building acoustic treatment!
Panels
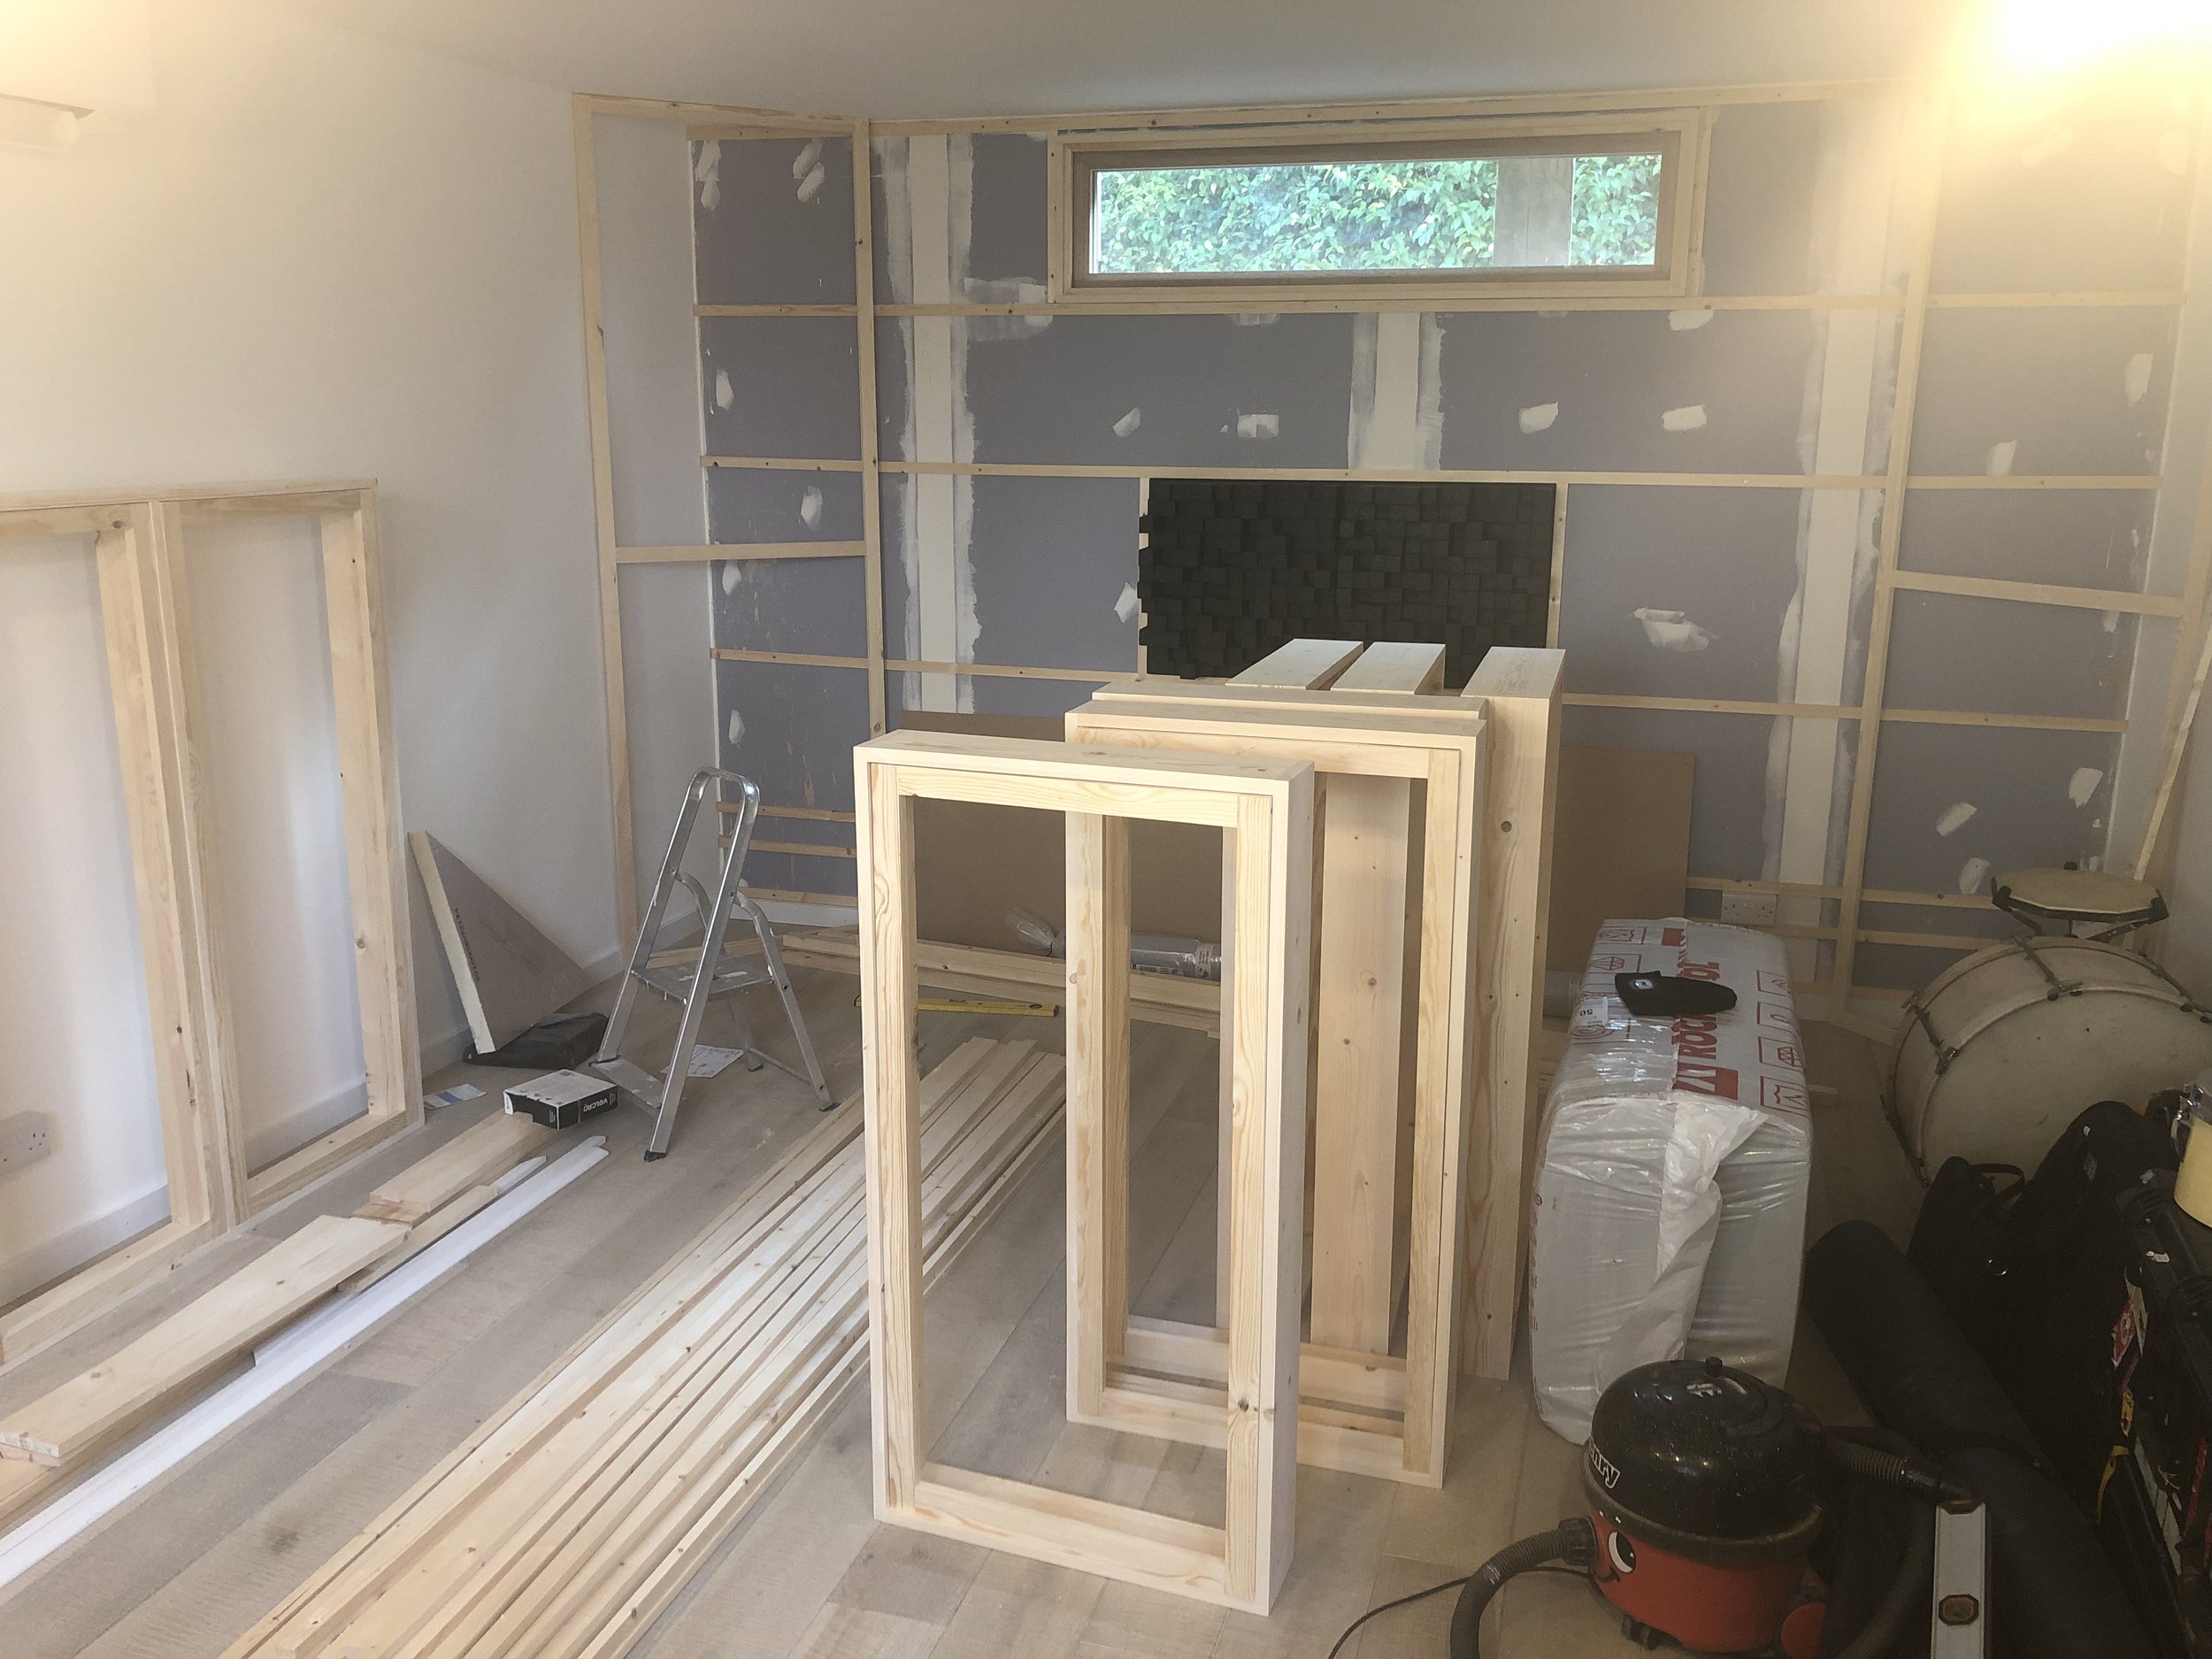
As many will know, building is a studio is one of those things that will completely bleed you dry of all financial reserves. It’s one thing building a room to play drums in but it’s another thing entirely to make it sound good. If you want to you can spend thousands on treating a space. I opted for more of a DIY approach having been in a tonne of studios and asked a lot of questions in the past. I knew I wanted a lot of wood on show and to have more of a dedicated 2 dimensional diffuser behind the drums. You can build skyline diffusers yourself out of hardwood but I opted to buy mine from an acoustic specialist that made them out of dense polystyrene. They do exactly the same thing but are just way lighter. Plus if you make your own you literally have to get every block perfect to the millimetre otherwise it won’t tackle frequencies correctly.
The panels were a pretty standard design but I opted to wrap the fabric around an inner frame so that the prepared timber would be on show. Corner traps are rock wool floor to ceiling covered by frame backed with the same fabric used for the panels.
Diffuser Wall
Since the very start of the build I had a vision for what the wall behind the kit would look like. I knew the slats would offer some left to right diffusion but I always had in mind to have a saline diffuser in the centre which would diffuse in every direction. The wooden slats were such a head ache to get right. I had to make calculations to make sure they butted up to both the window and the skyline diffuser which was not easy. However the end result was seriously pleasing on the eye and I couldn’t have hoped for it to come out any better.


